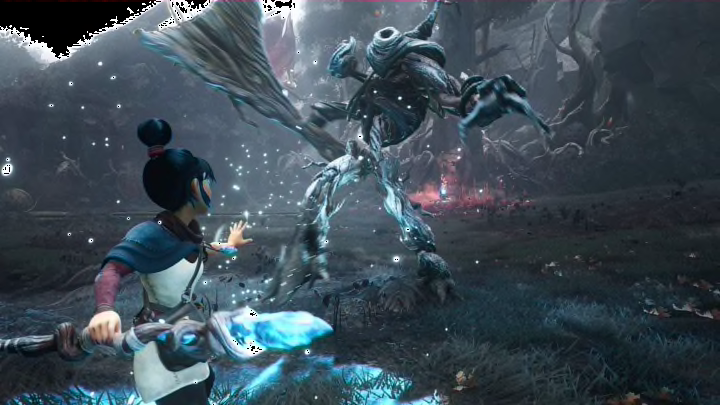
How to Beat the Wood Knight in Kena: Bridge of Spirits
By Jack O'Dwyer

Kena: Bridge of Spirits features a few boss encounters that some players may find difficult the first time around.
This game has made waves due to its cinematic art direction and healing narrative of helping spirits inflicted with tragedy and holding to the last vestiges of their life before move forward—onward from this world. The Wood Knight is one such spirit that Kena will need to use her magic to help lay to rest. We've put together a short guide with all our best tips on how to not only survive but thrive during this fight.
Kena: Bridge of Spirits Wood Knight Boss Fight Tips
Kena's story is notedly linear and has very few—if any—opportunities to branch off from the main plot. This will lead players directly to the Wood Knight fight, so there's no need to worry about dialogue options or specific areas to explore. Players will be led to the Wood Knight immediately following a lesson by Rusu on how to draw the staff like an archery set.
Veteran video game fans should already know what mechanic the following fight will be taking advantage of.
Opening Stage
The fight opens with minions—otherwise known as "adds"—that will spawn around the player and engage with them. The best way to get rid of these guys is to use the newly unlocked ranged arrow attack. Some players have reported that, when Kena jumps while already aiming, time will slow and therefore make it much easier to get at least two hits in before these guys flee into the trees.
They do have a bit of health to them, so getting as many arrows in as possible will be a boon early on.
It's happening tomorrow!
— Kena: Bridge of Spirits (@emberlab) September 20, 2021
Kena: Bridge of Spirits' release is just a blink away!
Have you pre-ordered your copy of Kena which comes with exclusive Rot celebration hats?https://t.co/lUpcmaXulZ#indiegame #countdown #ps4 #ps5 #epicgames#gamelaunch#gamerelease pic.twitter.com/joPNCk8cii
The Wood Knight Appears
The Wood Knight will appear standing on the opposite side of the combat area from Kena. This means it will open with either a charging lunge or by throwing its wielded club like a boomerang. Players can potentially dodge the charge, but we recommend shielding against the club as it hits coming in and returning. It may take a moment to figure out that timing, but if Kena can land some arrows in while closing the distance, it could go a long way.
This can be extra helpful if players manage to hit the orange orbs around the knight. The orbs will explode and take off a good portion of its health with each one.
Otherwise, players may have an easier time getting up close and personal as all of the knight's close combat moves are able to be parried. That timing, again, could prove to be difficult to grasp, but a proper parry will stagger the knight and allow players to get some extra hits in before it comes to.
The most difficult part of this fight has less to do with remembering a series of complex maneuvers and more just paying attention to the knight as it attacks. Most of its melee attacks are easy to predict—so keep your head and you'll be just fine.