All HSR 3.6 Golden Scapegoat solutions and locations
By Marco Wutz

Version 3.6 of Honkai: Star Rail has open the path to two additional locations full of puzzles and challenges on Amphoreus: Grove of Epiphany (Radiant Scarwood) is a scene of disaster after a certain Chrysos Heir went to town on it, while the Great Tomb of the Nameless Titan (Universal Matrix) holds one of Amphoreus’ greatest secrets — and the key towards defying its gate.
Table of Contents
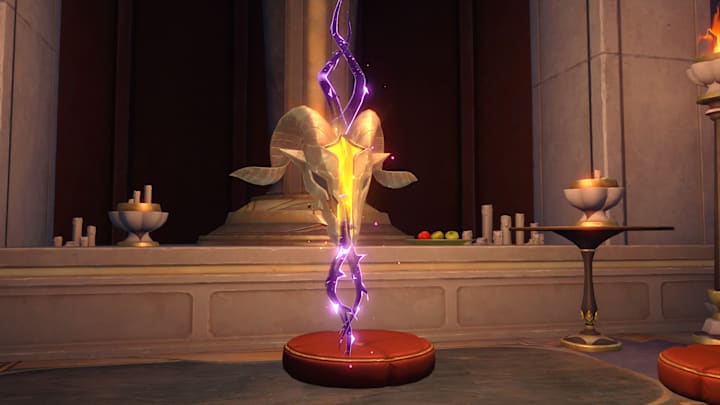
As is tradition, both areas contain Golden Scapegoat challenges, which task you to steer your unfortunate goatman into a sacrificial pyre by using the shadow that follows your every step.
Find all HSR 3.6 Golden Scapegoat locations and solutions below.
Golden Scapegoats in Grove of Epiphany (Radiant Scarwood)
Golden Scapegoat #1
Location:
Solution: Right, Left, Right, Right, Left
Backtrack immediately after moving out of the spawn point and only then enter the teleporter. Once it’s transported you to the bottom floor, you can simply keep moving left. This will make sure that the teleporter is reactivated, bringing your shadow onto the same floor to press that blue button for you. All you have to do is climb back up, pass the now deactivated teleporter, and jump into the fire.
Golden Scapegoat #2
Note that you can only access this Golden Scapegoat puzzle after completing the side quest in this area involving Bartholos, as this will allow you to drain the water submerging the lower levels.
Location:
Solution: Right, Right, Left, Left, Right, Right, Right, Right, Right, Left
Begin by heading right two times and then doubling back. Afterwards, go right five times and end your recorded movement with one step to the left. You should be ending your movement right on the blue button on the middle level.
When your shadow is spawned in, move to the teleporter on the bottom level, causing you to switch places with your shadow. Once you’re back on the top level, move right to activate the teleporter once again and then double back to once again switch places with your shadow.
The shadow will do the rest of the work by itself, moving right to reactivate the teleporter and dropping down onto the middle floor to activate the blue button, paving the way to the pyre.
Golden Scapegoat #3
Location:
Solution: Right, Left, Right, Left, Right
This puzzle is already solved and you simply need to head down to the orange button to get the teleporter up and running, so you want your shadow to behave and not touch anything — hence the back and forth movement to keep it contained at the spawn.
Golden Scapegoat #4
Location:
Solution: Left, Down, Right, Right, Right, Right, Right
Avoid the teleporter and instead go left and down the ladder before heading to the edge of the second level. Once your shadow spawns in, head left until you’re one tile ahead of it and hold that lead as you move towards the pyre. You and the shadow will help each other get down to the bottom layer, where you’ll be able to jump into the pyre.
Golden Scapegoats in Great Tomb of the Nameless Titan (Universal Matrix)
Golden Scapegoat #1
Location:
Solution: Left, Left, Right, Down, Right, Right, Left
Head left two times and then go back onto the ladder. Climb down, jump to the bottom level by going right two times, and then end your movement on the yellow button.
You need to remain fearless and keep moving left to reach those blue trapdoors, which develop into bridges just in time thanks to your shadow’s movements. Keep going left until you’re safely on the other side of the chasm. In the meantime, your shadow will activate the yellow bridge.
Golden Scapegoat #2
Location:
Solution: Left, Left, Left, Right, Left
Ignore the teleporter and immediately move left three times to get to the platform with the blue button. Get onto the button and then bail for the teleporter, jumping down onto the blue bridge, which will open once your shadow reaches the button.
Golden Scapegoat #3
Location:
Solution: Left, Left, Right, Down, Right, Right, Right
Jump down on the left side of the spawn and then use the ladder to get onto the level with the blue button. End your movement on the yellow bridge, but immediately head left afterward to activate the blue button. This will cause your shadow to open the yellow bridge for you. Jump onto the bottom level and activate the yellow button there, causing your shadow to fall down. Thanks to that, it can move on to get that blue bridge between you and the pyre online.
Golden Scapegoat #4
Location:
Solution: Left, Left, Left, Right, Left, Left, Right, Right
Keep heading left three times after spawning in, then buy some time by going back and forth once before heading to the level with the blue button. From there, simply keep going right as your shadow spawns in. It will activate the yellow button just as you reach the bridge, freeing your way to the pyre.
If you’re looking for help on earlier puzzles, check out the Golden Scapegoat locations and solutions for HSR 3.3, HSR 3.4, and HSR 3.5. We also have a complete walkthrough for Aedes Elysiae.