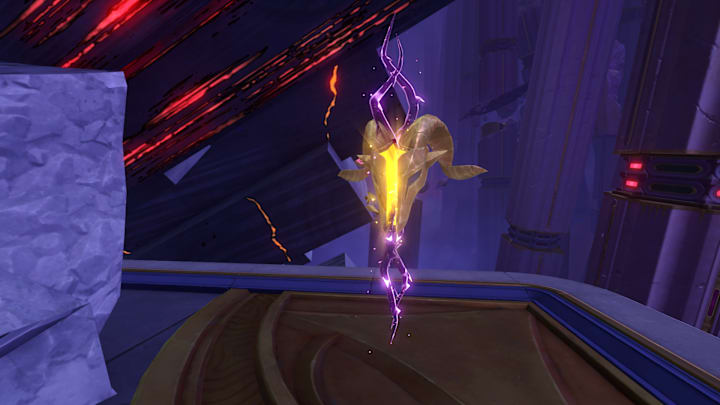
All HSR 3.7 Golden Scapegoat solutions and locations
By Marco Wutz

Honkai: Star Rail Version 3.7 is out and brings us new Golden Scapegoat puzzles to solve on “Great Tomb of the Nameless Titan, Nightmare’s Echo” and “Ruins of Time, Memortis Shore”.
As always, the goal is to maneuver the sacrificial victim into the burning pyre by manipulating buttons and teleporters around the map with its shadow, which copies a set number of moves. Falling off the stage or running into the shadow means game over.
If you’ve asked yourself about the identity of the goat we’re steering to its inevitable doom, the answer is actually revealed after the final puzzle in this update.
Find all HSR 3.7 Golden Scapegoat locations and solutions below.
Table of Contents
Golden Scapegoats in Great Tomb of the Nameless Titan (Nightmare’s Echo)
Golden Scapegoat #1
Location:
Solution: Left, Right, Left, Left, Down, Right, Right, Right, Down
Move towards the ladder with a little backstep in-between the advance, then jump down and into the portal. That’ll send you back up to the original level, from where you repeat the exercise of climbing and jumping down — we do this little back-and-forth to get the portal out of the way. From there, it’s a straight way to the pyre with your shade pressing all the right buttons.
Golden Scapegoat #2
Location:
Solution: Left, Left, Left, Left, Left, Up
Simply jump down to the yellow and blue buttons right from the start and then get up the long ladder. When you’re at the blue trapdoor on the top floor, your shadow will open it so you can activate the portal. Then you jump on the blue button to send your shadow teleporting, which leads to the shade opening the yellow and blue bridges for you.
Golden Scapegoat #3
Location:
Solution: Right, Right, Right, Left, Left, Up, Left
Lose no time and head right until you hit the edge of the bottom platform. There, go to the ladder, climb up, and then keep heading left to the yellow button. This will teleport your shadow to the other side. You bide your time by climbing up and down the ladder a bit so that the shade can complete one lap around the structure on the other side, reactivating the teleport. Make sure to reach the teleport at the same time as your shadow does to switch places with it. Your shadow will complete its loop by holding down the blue button for you.
Golden Scapegoat #4
Location:
Solution: Left, Left, Left, Left, Left
All you have to do for this one is head left and then spurt towards the ladder. Climb up and you’ll be in position to cross the two bridges when your shadow activates them.
Golden Scapegoats in Ruins of Time (Memortis Shore)
Golden Scapegoat #1
Location:
Solution: Left, Left, Left, Left, Up, Right, Right
Head left and loop up to reactivate the portal with the orange button. Jump into the teleporter immediately afterwards to switch places with your shadow, activate the blue button to send it onto the bottom layer, and then head towards the pyre.
Golden Scapegoat #2
Location:
Solution: Left, Left, Right, Left, Left, Right, Right, Left, Right
This one’s quite tricky to get right. Head into the portal with a bit of hesitation to get to the other side. There, jump down to the yellow button, head to the right blue one, back to yellow, and then to the blue one on the right again. Make sure to climb up the ladder after that and jump onto the yellow button from there. You’ll want to repeat this movement up the ladder, jump to yellow, and move to the right blue button one more time. This will allow your shadow to reactivate the portal, which you can use to access the pyre.
Golden Scapegoat #3
Location:
Solution: Right, Right, Right, Right, Left, Right
Head right into the portal and continue that direction on the bottom layer. Make one move back and forth before your shadow spawns in, then beeline towards the blue button and turn around once again when your shadow reaches the blue trapdoor. Let it activate the portal and hold the button, then you can smoothly teleport up and to the pyre.
Golden Scapegoat #4
Location:
Solution: Right, Right, Right, Right
The final puzzle simply has you jump down a bunch of times towards the center. While the shadow ordinarily being caught in a teleportation loop would be game over, this rule is not in effect for this challenge — the shadow gets to vanish.
For more Golden Scapegoat solutions, see our guides for HSR 3.3, 3.4, 3.5, and 3.6.
Next. Honkai: Star Rail – All current and upcoming characters. Honkai: Star Rail – All current and upcoming characters. dark